


Sponsored
How to Germinate Marijuana Seeds in 9 Easy Steps
Learn how to successfully germinate your own cannabis seeds in this easy step-by-step guide.
One of the biggest worries facing weed growers is the non-germination of marijuana seeds. This problem can stop a project before it’s begun, setting growers back for weeks or months, depending on how quickly the seeds can be replaced.
There are a few reasons a cannabis seed might not germinate, including poor handling, bad storage, and ill-advised germination techniques. It’s rarely down to the seed itself, especially when you shop at a trusted, reliable store.
This article demonstrates how easy it is to germinate your cannabis seeds, achieving success almost every single time. We say “almost,” because seeds are a natural, living thing, and natural, living things can never be 100% predictable.
With the help of Homegrown’s Germination Guide, you:
- Won’t need any special tools or equipment.
- Can germinate your seeds at home.
- Can hit 100% success time after time.
This is all you need to know about germinating your marijuana seeds, sourced directly from the Homegrown Cannabis Co.
Step One: Preparation
Once you’ve received your seeds from the Homegrown Cannabis Co., it’s time to get everything ready. Homegrown ships their seeds from California, so U.S. customers rarely wait more than a week for delivery.
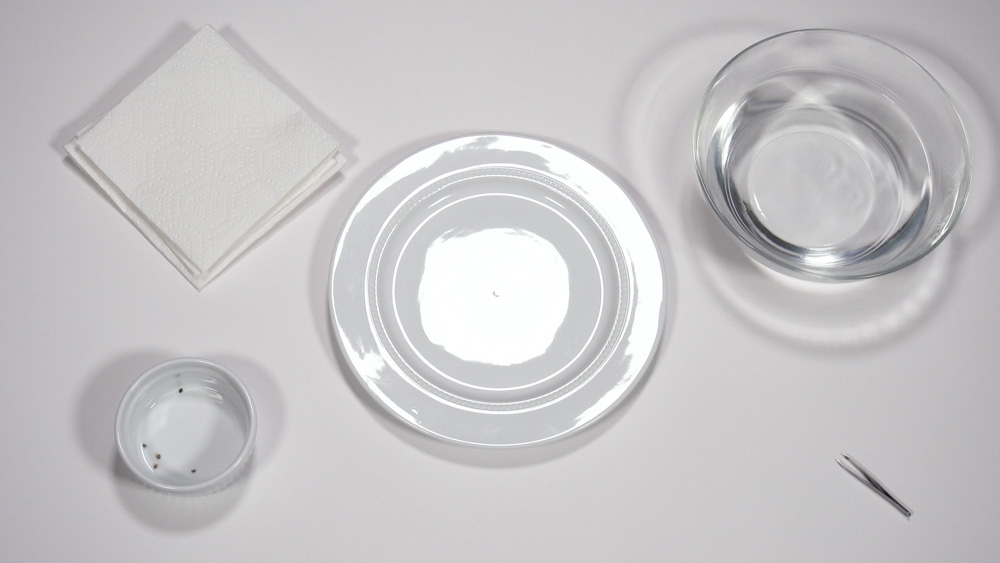
For step one, you will need to have the following household items ready:
- Paper towels
- Tweezers
- Purified or bottled water (add Homegrown’s Germ Genie for extra peace of mind)
- 2 dinner plates
- Your Homegrown seeds
You can use Germ Genie in your germination water, an addition to soil or hydro, or as part of a feeding plan for the first weeks of growth. It’s a kelp-based miracle-in-a-bottle, perfect for beginners or those growing in adverse conditions.
“Germ Genie is amazing for marijuana seeds, a nutrient-packed superfood that practically guarantees success.” – Kyle Kushman

Step Two: Creating the Environment
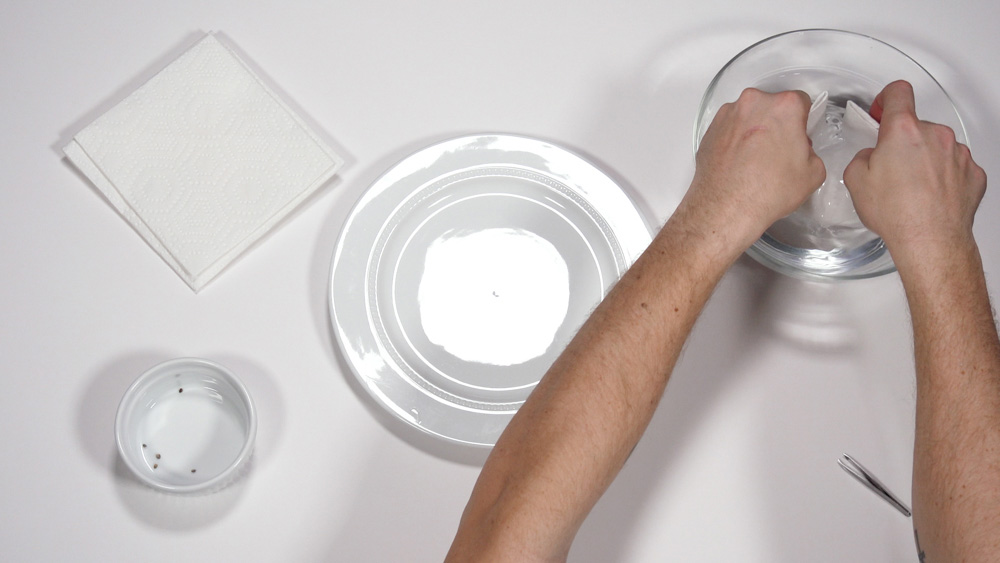
Step two is almost as easy as step one. You need to moisten a couple of paper towels, wringing out any excess water. This will create a warm, moist and dark environment – perfect for sprouting cannabis seeds.
Step Three: Making the Seedling Bed
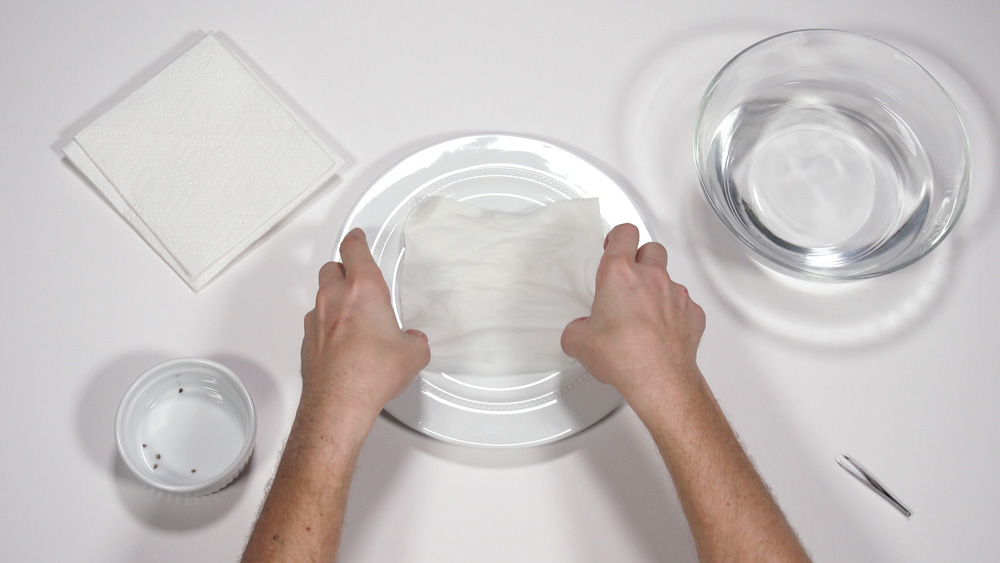
On step three, you need to lay one of your moist paper towels onto a plate. Pull it nice and flat, covering as much of the plate as you can. This acts as the bed. Double-check the moisture levels by gently tipping any excess water off the plate.
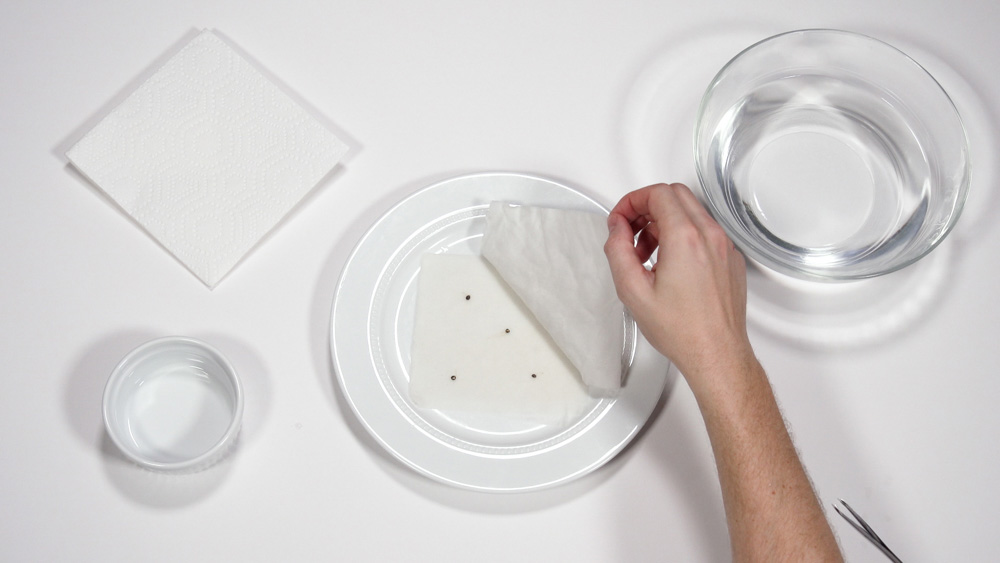
Step Four: Adding the Seeds
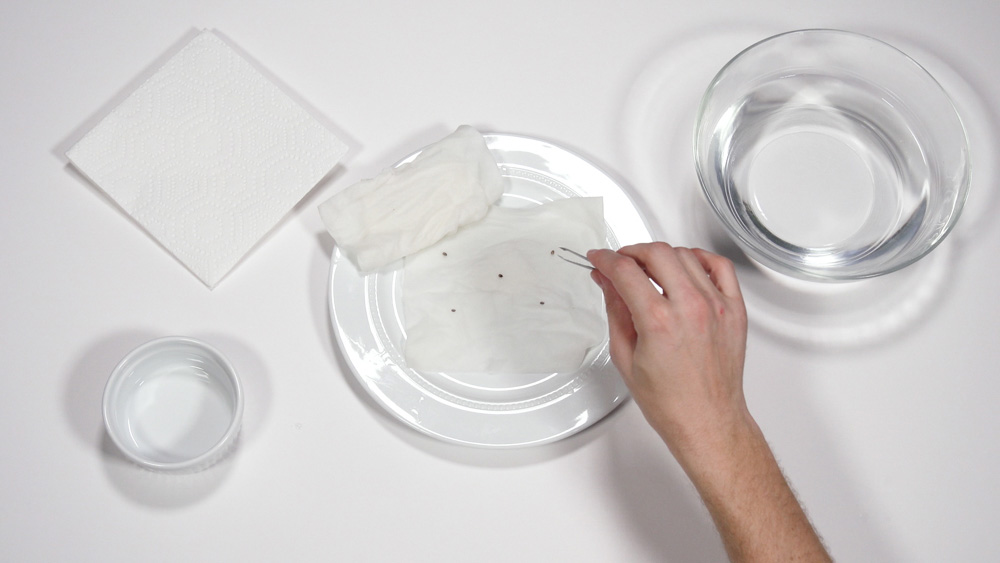
This is a very exciting step! Using the tweezers, carefully take your Homegrown Cannabis Co marijuana seeds and place them on the paper towel, keeping them around an inch apart. Depending on the size of the plate, you can easily germinate a full, 24-pack of marijuana seeds in one go.
Our advice? Germinate your marijuana seeds in small batches, as insurance against mistakes. People lead busy lives, and it’s too easy to forget about (and dry out) your germinating seeds. Be vigilant, but be smart, too. Always give yourself a safety net.
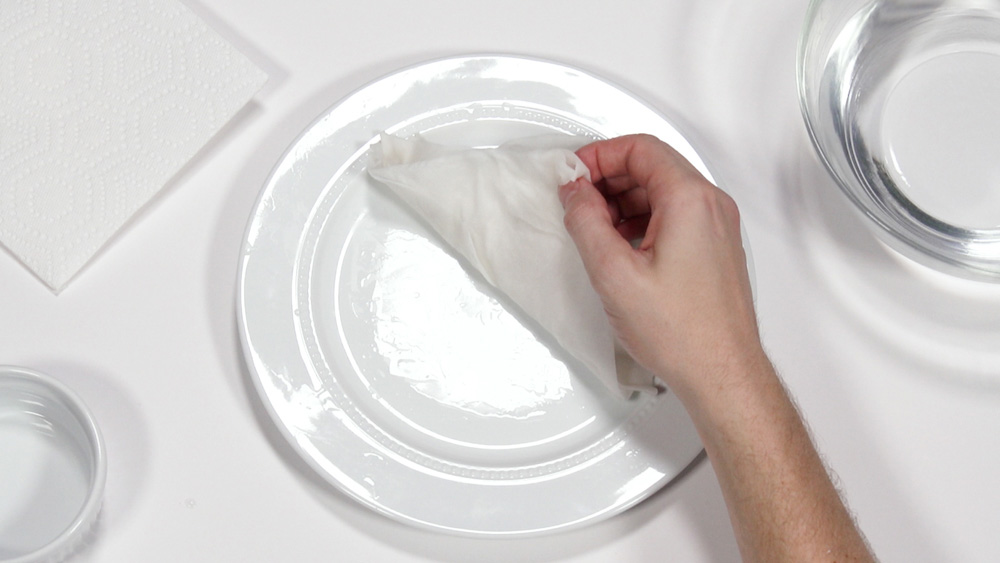
Step Five: Tucking Your Seeds In
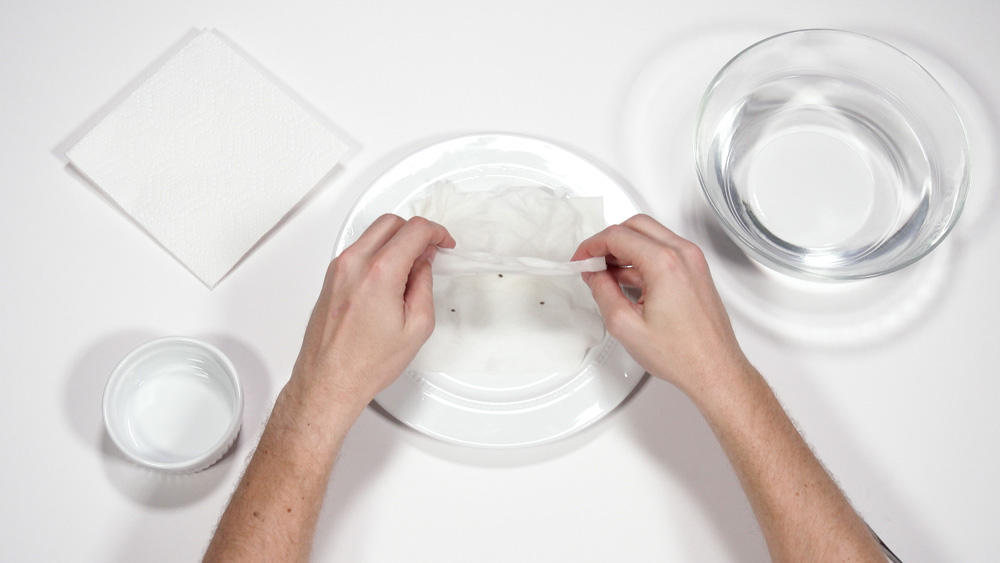
Step five is tucking your seeds in. You take the second paper towel and place it over your seeds, matching the position of the lower towel.
It’s a good idea to pour a little water over the top towel, making sure the “bed” is saturated, but not overflowing.
Step Six: Removing Excess Water
This is a small but very important step. Gently lift the paper towels to check that there is no standing water underneath. If there is, tip the excess water off the plate, without tipping everything off!
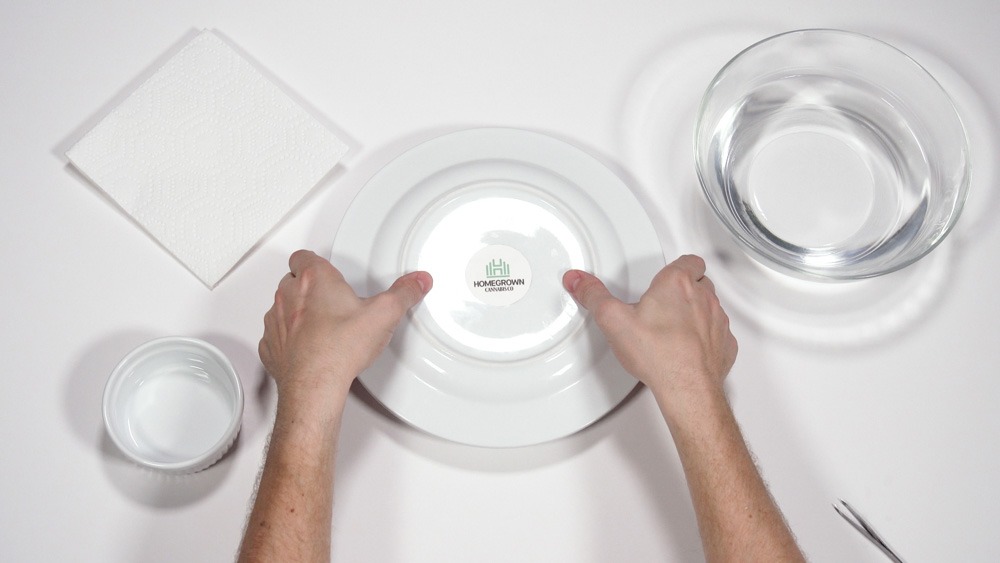
Step Seven: Creating an Incubation Chamber
Take the second plate and place it on top of the seeds. This creates a crude but effective incubation chamber: moist, dark, warm and perfect for your eager seeds. Put it in a warm, dark place: A drawer or a cupboard is perfect.
Step Eight: Monitoring Your Seeds
Step eight is all about monitoring your cannabis seeds, making sure they stay nice and moist, and never letting them dry out. Most seeds take between 24 and 48 hours to germinate, though some can take up to five days. Any seeds that haven’t sprouted within 120 hours can be discarded.
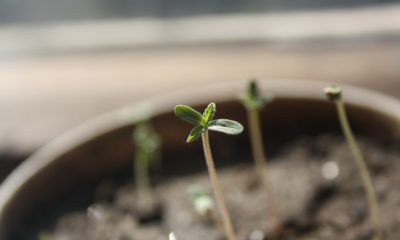
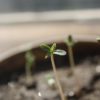
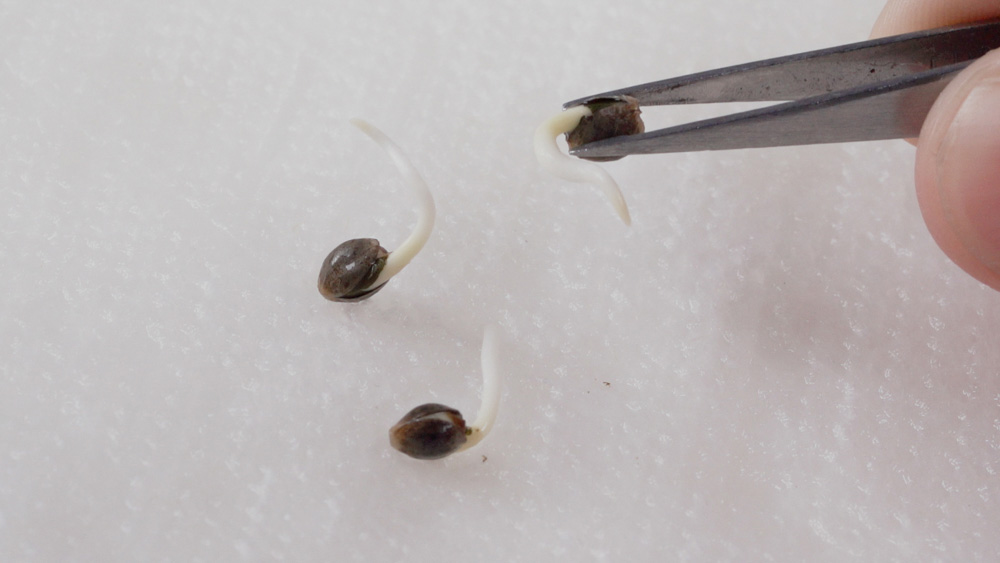
Step Nine: Get Ready for Planting
Okay, hands in the air – this isn’t really a step. This is the hugely satisfying end to what you must admit is a pretty easy process. No fancy equipment – nothing complicated. This step is about peeling back the paper towel to enjoy the sight of popped seeds and taproots, ready to be planted in the substrate of your choice.
Growing Marijuana From Seed With the Homegrown Cannabis Co.
There are more growers than ever before in the U.S., dramatically increasing the demand for marijuana seeds, marijuana nutrients and, more importantly, a decent marijuana education. This is where brands like Homegrown shine.
Homegrown customers can enjoy a large selection of free videos, articles and guides covering every aspect of growing cannabis. They can join Homegrown Diaries and keep a grow journal; use the Community Forum to meet friends and swap tips and advice; and enjoy the finest collection of seeds and tailor-made nutrients anywhere in the world.