Spring planting preparation doesn’t have to be complicated, but a little work the months beforehand will make the process flow more smoothly, and the extra preparation will most assuredly allow for larger yields if done correctly in most circumstances.
Cannabis Genetics
The first thing is deciding upon if you’re growing for medicine, personal or commercial purposes. This is where quality genetics come in. One of the easiest things to come by is clones. Clones are usually selected from a mother plant which exhibited qualities that were worth growing for one of the stated purposes listed earlier. Acquiring your clones from a reputable source is something to research beforehand either from a good friend, breeder or (if you’re lucky to live in a med state) then possibly from a dispensary. Though this doesn’t necessarily mean that it will always be a quality strain or that it will perform well in your grow environment.
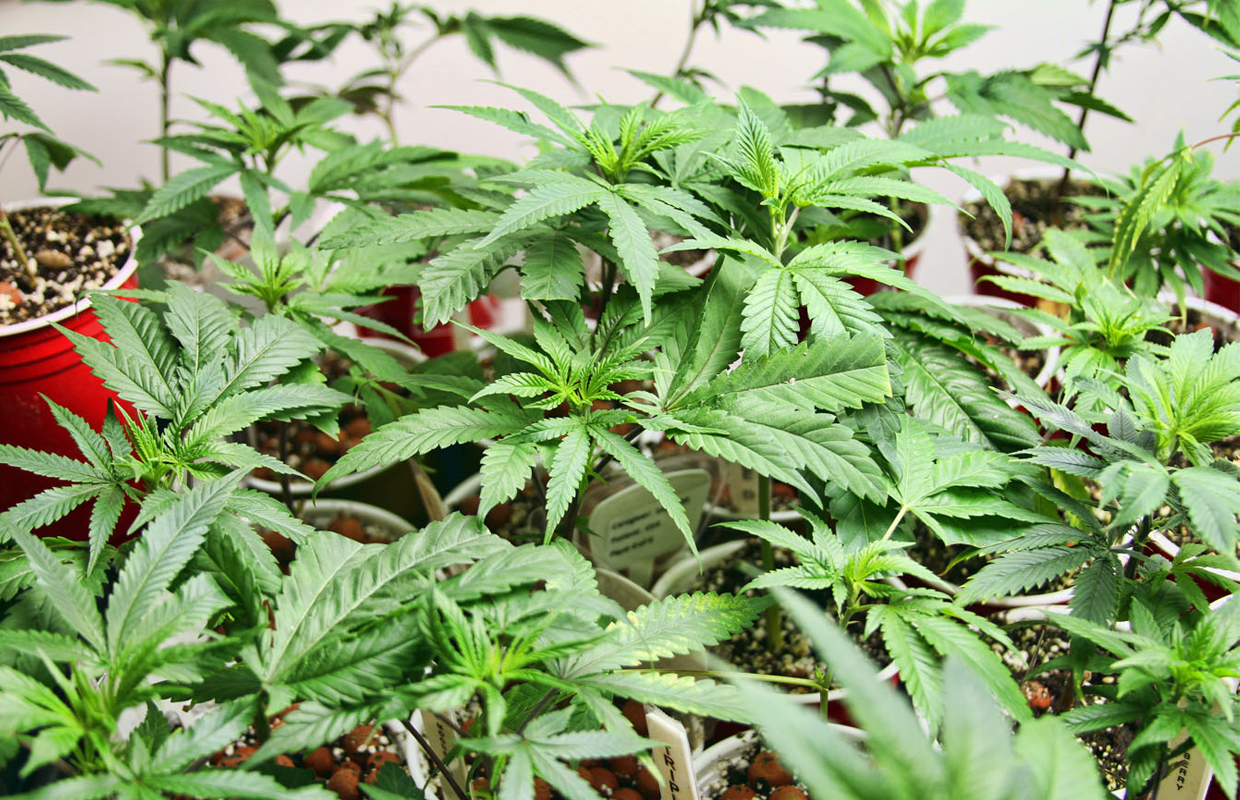
Rooting and vegging your selections beforehand will improve your yields by leaps and bounds. So make sure your clones have decent roots before you invest the time and energy into your grow. Using a rooting hormone is not a bad idea for the first several waterings, though not necessary if using organic balanced soils once spring planting is started. I like to veg indoors or in a greenhouse under T5 fluorescent lights. Then it’s not a bad idea to train your plants by pinching or by other techniques used to improve branching like the FIM technique or super cropping. The basic idea is to make more main branches available to allow for heavier yields.
Growing from Seed
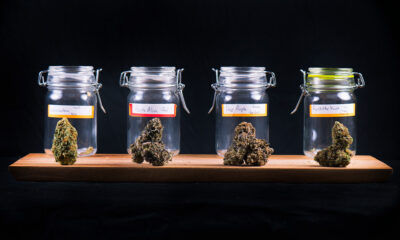
For those interested in growing from seed (my preferred method of growing fine cannabis) knowing how to acquire the best genetics possible is the most important factor when selecting what to grow. I would highly recommend attaining your genetics from a seed bank that is reputable. Just because a strain is hyped for a various seed bank doesn’t necessarily mean it is a great strain to grow. It is also a fact that the price of a strain doesn’t mean you’re going to get a better strain than one which is priced for less, so do some research and read reviews from the various seed banks.
Selecting a strain which will grow in your environment is important. Some strains are equatorial as either a pure line or a hybridization of an equatorial line. This basically means the genetics for a given strain are accustomed to 12 hours of light and 12 hours without light since its geographical location of origin is in proximity to the equator. Strains within this category are not as prevalent and available, but it should be known for one’s education and the possible availability of more strains in the future. Strains that are equatorial are Colombians, Panama strains, Congolese basin strains, and some in close proximity that act like equatorial strains like South East Asian strains such as Thai and Cambodian (to name a few.) Also it should be known that these strains are less sensitive to photo period and mature more from genetic markers than lack of light period. A good rule to go by is to veg an equatorial strain from seed at least 60 days to preferably 90 days from germination to allow a more mature plant to flower. Allowing the equatorial strain to mature more before flowering will allow for larger yields and shorten the flower time.
To start your seed with modern hybrids or strains that are from higher latitudes such as lines from the Hindu Kush range (Afghanistan, Pakistan, North India) know that these seeds have typically been breed for fast maturation and are more photosensitive. Allowing the seedling to grow for 30 to 60 days from germination will produce plants that yield and grow stronger than if one was to induce flower right away. It should be known also that some strains will revert back to a vegetative state if daylight hours are too short, so knowing when plants finish outdoors is important and especially the closer to a magnetic pole you are. This shortening of daylight hours also affects thermal inertia with the axis of the earth moving from spring to winter, incrementally increasing CO2 in the outdoor environment which hastens the maturation of strains which come from non-equatorial environments.
Germination
Germinating seeds either new or old doesn’t have to be tricky. It does take patience and time. This is also where quality genetics come in. Organic seed stock tends to grow more vigorously and seems to have a longer shelf life than seeds made with chemical fertilizers and hormones.
A simple way of germinating your seeds is the paper towel method. Some people don’t like this method because of bleach type oxidizers in some paper towels. The way to do the paper towel method of germinating seed is simple. Wet at least two to three sheets of paper towels lightly to moisten but not so that it’s saturated. Then place 10 to 13 seeds or less in a row in the center of the paper towel. Fold the paper towel around the seeds several times to make a type of pouch.
The next step would be to see if some more water is needed to moisten the paper towel. If the paper is moist enough then place the moist folded paper towel within a sealable plastic bag. Then place the plastic bag in a dark place and inspect every 12 hours to see if the tap root is peaking through the bottom of the seed which is the pointed side. Some seeds, depending on age or whatever reason, may be as quick as 12 hours or as long as two weeks. So again, patience is needed in germinating seeds.
Another method which works well but doesn’t give you an idea that the seed is germinated right away would be to plant the seed directly in soil. I like to layer a starting tray which is made of particle paper so once the seedling roots in soil, it is easily able to be removed and replanted. I like to use a basic organic potting soil which has mycorrhizae in the bottom half layer of each starting tray. Then I use a starting soil mix which is lighter in nutrients and not as dense on the top layer of the starting tray. I fully saturate the soil with water three times the night before so that the soil is moist enough to retain the water. The next day I record which strain is placed in each location and I push the seed pointed side down to ¾ depth or flush. I then use a dropper or turkey baster to moisten the top of the seed with water.
You can also use additives like Super Thrive or a little H2O2 mixed with the water to aide oxygenation and kill any pathogens that could ruin your seedling. It should be stated that it’s a good practice to use only a quarter strength or less of what is recommended by the manufacturer of these products until you get used to using them with experience.
Remember your seedlings and plants like water but they also need to breathe, so don’t over-water. Always under-water and with time your plants will be able to intake more. I like to water every third day, but monitoring the moisture content is important. Some environments are drier and windy which will dry out soil mixes much more rapidly. So once you have planted your seeds, place them in one position like by a window sill or under T5 fluorescents to initiate growth.
I personally like to grow my new seedlings under natural light at first to determine color traits which can only be seen initially. Growing under T5 fluorescents produces nice dark leaves and rapid growth. So after the first set of leaves appear, transplant new seedlings into a small good draining pot or use a plastic beer cup with holes punched out the bottom for proper drainage. Use a basic organic soil mix and back fill the container which is then placed under lights to vegetate and build roots and leaves.
Amendments and Soil
Once your selected sativa or indica variety is induced to flower either under lights indoors/greenhouse or outdoors, having sufficient space to allow ample root growth is essential. A good organic soil mix is preferred and one that contains lower amounts of nitrogen is important so that sensitive vegetative growth is not inhibited, especially for sativas. Sometimes all that is needed is a good balanced organic soil and water, with the addition of occasional tea if required.
If you’re into composting it’s a good idea to compost your selected plot of land over the winter so that the breakdown of organic material happens over a longer duration which will free up the humic and fulvic acids and other plant energy to form humus. Once spring time comes around it’s not a bad idea to test your soil by a soil lab to see if your soil needs to be amended. This is a practice for many farmers around the world and it should be used by cannabis farmers as well. Why spend the money on expensive amendments if they are not needed?
Picking Your Plot
Once your plot has been selected make sure it has good available light from morning to night or over the duration of your grow. If the plot is shadowed by hills, mountains, walls, trees this can cause the photosensitive strains to flower earlier and not allow enough time to mature properly which affects the end yields of a given strain. This shadowing of a plot further in the season can also cause plants to reveg from flower causing poor yields and what growers call larf, basically lots of leafy buds which are not very dense. Also hardening off the clones or seedlings is a good idea to not shock your plants from the sun if they have been growing indoors. This can be accomplished by giving the plants indirect sunlight for a few days prior to planting.
Spring Planting
This can be done directly in the ground if your soil can retain nutrients. Making a row of plant holes at least two feet wide to one to three feet deep is typical and the amount of holes depends on how many plants you’re going to be growing. Giving at least five feet of space between plants if not more is a good idea so plants’ roots can spread out and not fight for available nutrients. Once your holes are dug you can plant your strains in the holes using your selected balanced soil mix and it’s a good idea to mix in native soil as well. The mixing of native soil will encourage your plant’s roots to spread out more and not be congested with the nutrient-rich mix that surrounds the newly planted strains. Basically, the more roots your plants have, the larger the flowers.
Once the holes are filled in but not packed with soil, lightly tug at the base of your plant’s main stem to allow the roots to grow down instead of sideways or up. Watering in the morning is acceptable if you’re in a humid environment and mold is an issue. Watering in the evening is also a good time, as the heat of the sun isn’t causing stress on the plants. This is optimal for a dry environment where cannabis plants go into the dark cycle and produce cannabinoids and terpenes. Drip irrigation works really well for cannabis watering and it saves on your water bill.
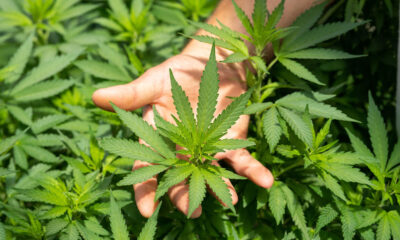
Whatever your tastes or needs are with cannabis, please enjoy the experience. Cannabis is one of the most beautiful growing plants in the world with every type of color and look that can be perceived. It’s been used for centuries around the world and is truly our Tree of Knowledge and Life.
Originally published in issue 6 of Cannabis Now Magazine.