


Cultivation
Growing Soil for Cannabis, the Regenerative Way
Learn how to revitalize your soil through natural inputs and regenerative practices.
Soil preparation for the garden begins in the fall at harvest time, and the process is completed in the spring. Of course, the easiest thing to do would be to run out and buy bags of different powdered nutrients, premixed fertilizers or a bottle off the shelf that has all of these nutrients in their proper proportion—and maybe even says organic on the label—but where is the fun in that?
Here at Swami Select, in California’s Emerald Triangle, we source materials as close to home as possible. We’re trying to save the planet by moving agriculture away from petrochemical ingredients and revitalizing the soil through natural inputs and regenerative practices.
Benefits of Cover Crop
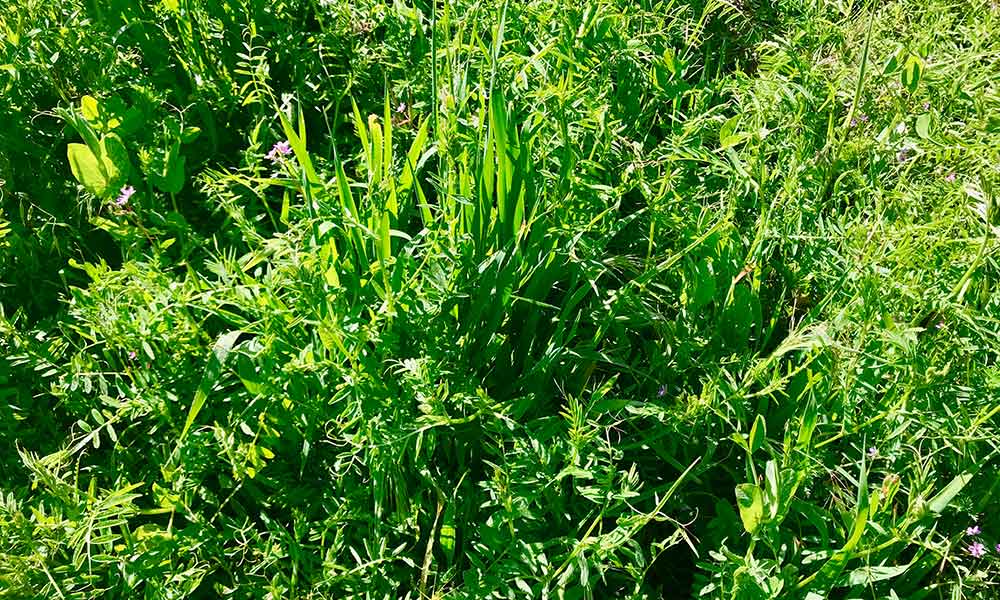
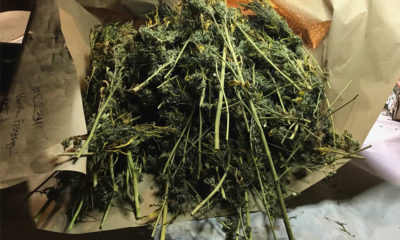
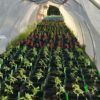
The basis of fertile earth starts with planting a cover crop of legumes and grasses just before or right after harvest in October and November, or in the early spring. Cover crop seeds are available in different formulas of premixed bags, often called Organic Soil Builder or OSB. Alternatively, some nurseries let you combine your own selection of seeds. Sweet pea, vetch, fava beans, alfalfa and ryegrass are some of the most common “green manure” crops.
The advantages of planting a cover crop in the fall are many: The soil is protected from erosion during the winter rains; beneficial plants prevent unwelcome weeds, malevolent fungi, bacteria or other pathogens from growing. Best of all, the bacteria around the roots of the cover crop legumes gather nitrogen in a form that can be easily utilized by the cannabis plant after the cover crop is harvested in the springtime. This is called “nitrogen-fixing.”
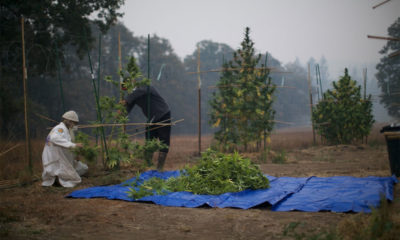
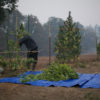
The cut plant material is then used as mulch or green manure. Alternatively, the cover crop can be turned over so the roots of the plants are up. But, it is better to just cut down the above-ground part and let it lie where cut to form a mulch.
It’s also beneficial to leave the stalks and roots in the bed after harvest so as not to disturb the microbiology in the soil that has developed during the growth cycle. The stalks are then pulled out in the spring when the cover crop is harvested, but by now, the finer ends of the roots have been composted into the soil, adding organic material. In addition, fungal hyphae have developed about the root ball. Cannabis prefers a predominantly fungal environment in the soil—like the trees in the forest—rather than a bacterial environment such as the meadow grasses.
The Theory of No-Till Farming
In the practice of Regenerative Agriculture, there is either “no till,” or tilling is kept to an absolute minimum, only mixing in the amendments in the topmost layer. The theory of no-till farming rests on the fact that different microorganisms thrive at different depths in the soil.
Bacterial life is most abundant below one-and-a-half feet, and if it is turned over and brought to the surface, the bacteria will binge eat all the available nutrients near the surface. Once all of the nutrients are gone, they die from exposure. This actually depletes the soil. If every different microbial life form in living soil remains in its optimum depth environment, the soil food web is not disturbed and fertility increases.
Disposing of soil after each harvest is a bad idea. With the right regenerative practices, each year you can improve the soil and its fertility, substantially reducing the costs and benefiting the environment by doing so.
Testing the Soil

Early spring is the time to take a soil sample. There are basically two kinds of tests: a mineral/chemical test or a biological/microbial test. The first assays the amounts of NPK and other elements the plant needs to thrive, such as calcium, magnesium, boron, iron, copper, zinc, molybdenum, sulfur, chlorine, manganese and nickel.
The biological test surveys the microbial life, identifying beneficial and detrimental bacteria, fungi, nematodes, ciliates, flagellates, amoebas and more. This test is three to four times more expensive, but it should be done when starting a new garden site, or if there are fertility or pathogen problems. Healthy living soil is more resistant to pests or pathogens.
Contact a local testing lab and they will send you information and instructions for gathering a soil sample to mail in. It is relatively cheap and definitely worth the price—without any soil tests, you are literally operating in the dark. The test should be done annually in different parts of the garden, which will give a baseline and guidelines for how to increase fertility over time.
Reduce Costs, Preserve the Planet With Living Soil
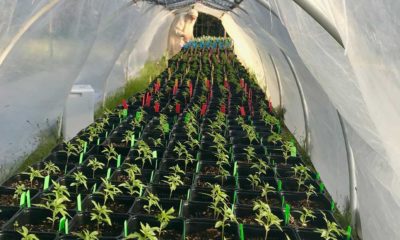
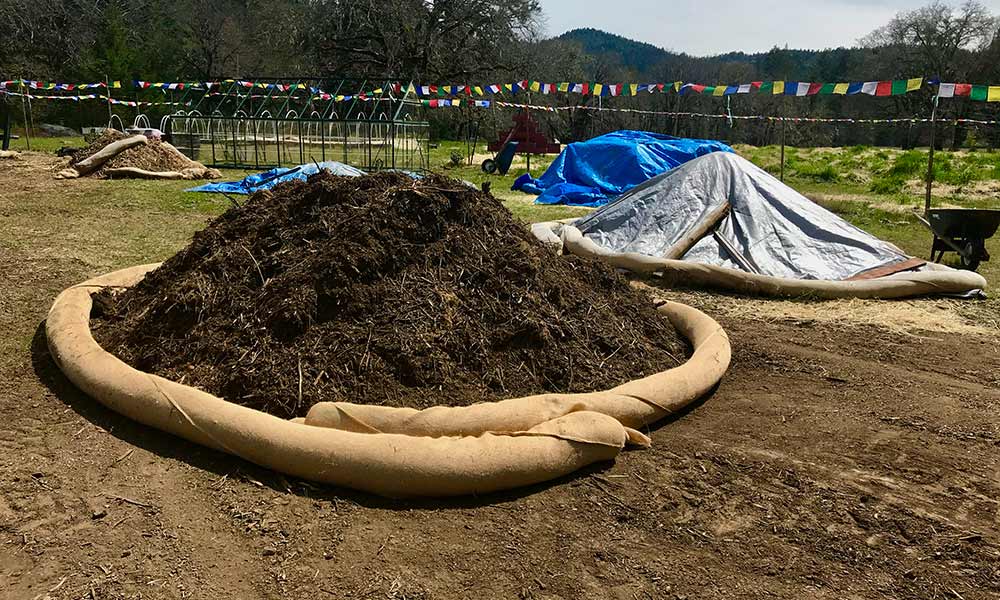
How we create living soil is by using compost, worm castings, wood chips, manure, straw and alfalfa mulch, rice hulls and coir as soil amendments or top dressings. This year, we are using homemade biochar in the mix to help reduce our water usage. During the growing season, we make compost teas to energize and augment microbial life, and we also grow companion plants or trap plants as part of integrative pest management.
Bags of compost, worm castings, manure and other items can all be purchased at a nursery or from a local farmer. There are many different kinds of manure, but you want to be sure the animals haven’t been treated with antibiotics or other medications. Compost bins and worm bins can be made at home, but for a large cannabis garden, you will probably need to purchase these items, unless you have a large farm and can produce your own animal manure and straw mulch.
Once you have the soil tests with their recommendations, you can choose what amendments to add. If you are hoping to jump-start the garden, then you can use certain mined mineral products such as gypsum, glacial rock dust, greensand, oyster shell, Azomite (which is crushed volcanic rock and contains many necessary trace elements) and insect frass. I prefer not to use bone meal, blood meal or feather meal, primarily because they attract bears, but also because I am a vegetarian and wonder about the treatment of the animals in the slaughterhouses.
I have also moved away from using bat guano, sea bird guano and perlite. Although they are all effective in the soil, each of these has environmental issues. When bat guano and sea bird guano are collected, it disturbs the hibernating or nesting areas of the animals, threatening their survival. Additionally, imagine the working conditions for those who do the collecting: shoveling bat shit or bird shit all day.
Perlite isn’t approved because when soil with perlite is disposed of (a common practice for indoor and greenhouse farms), the perlite gets in the water supply and then into the stomachs of fish and other wildlife.
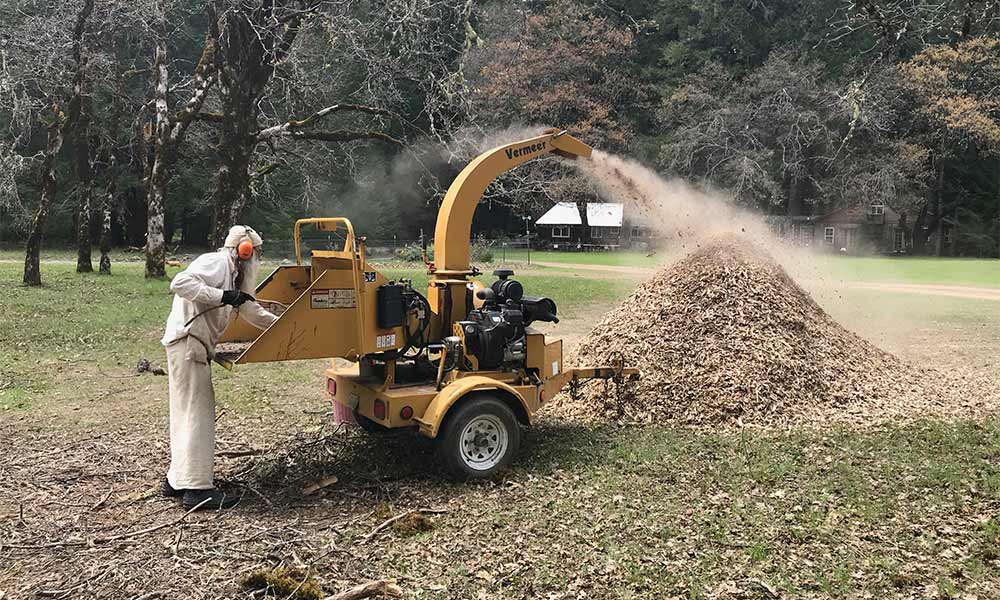
After a year or two, if you are adding the right organic ingredients, you won’t have to resort to these granulated additives. If you want to go hard-core regenerative, you can skip the mined mineral additives altogether and rely on wood chips, manure and compost teas. It will just take a bit longer. Wood chips are best made from your own trees. Leaves are gathered in the fall so they have the winter rains to stimulate the microbial growth in the piles.
After the cover crop has been harvested in the spring, it is time to mix all the aforementioned gathered ingredients into a big pile. Once all the amendments are thoroughly mixed—either in a wheelbarrow, cement mixer or tractor with a bucket—each plant bed should get an equal portion of the pile.
Water it in, then top it all off with organic straw mulch. You can start with the routine of a compost tea soil drench every ten days or two weeks. When you repeat this process every year, you end up making a layered lasagna of organic ingredients. After three or four years, the beds will become truly fertile with a living soil food web. Your plants and the Earth will thank you.