Cultivation
Preparing for Spring at Swami Select
Swami gives an overview of what life is like in the winter months, and the steps you can take to ensure your garden is ready for planting come springtime.
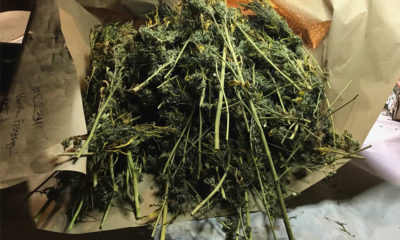
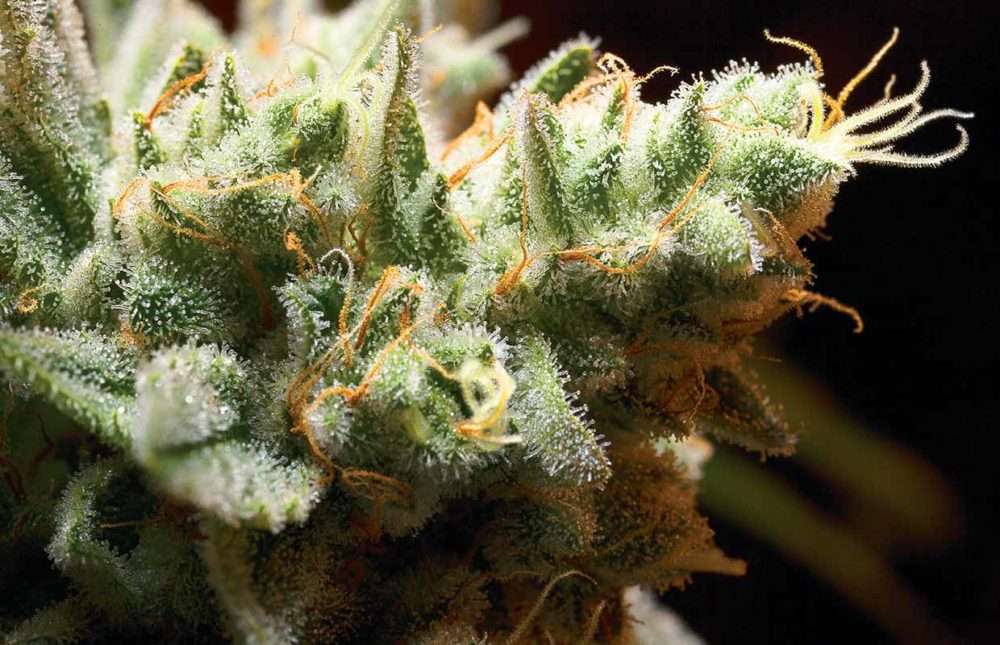
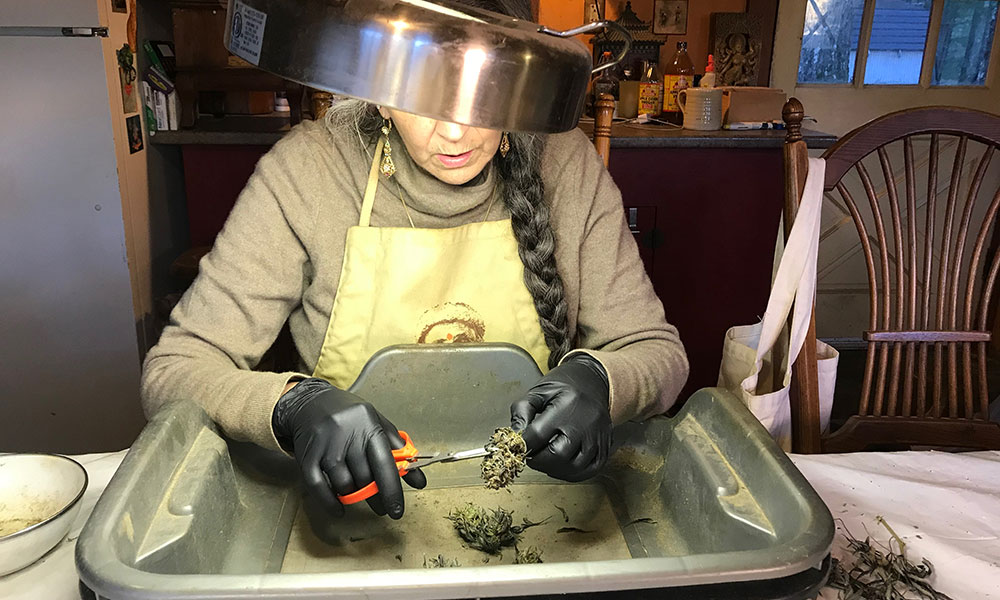
Although spring is quickly approaching, there is still much work to do before her arrival. In the winter months, the priority is to tend to the commercial crop from last harvest, which has been dried, wrapped in brown unbleached paper, put into bins and bucked. Now that it’s off to the processor for trimming and packaging, and eventually distributed into stores across California, we can begin to trim our personal stash. This traditionally happens at the end of a busy workday, when we settle down and listen to audio books while manicuring our own buds, a mellow close to the day.
Winterization
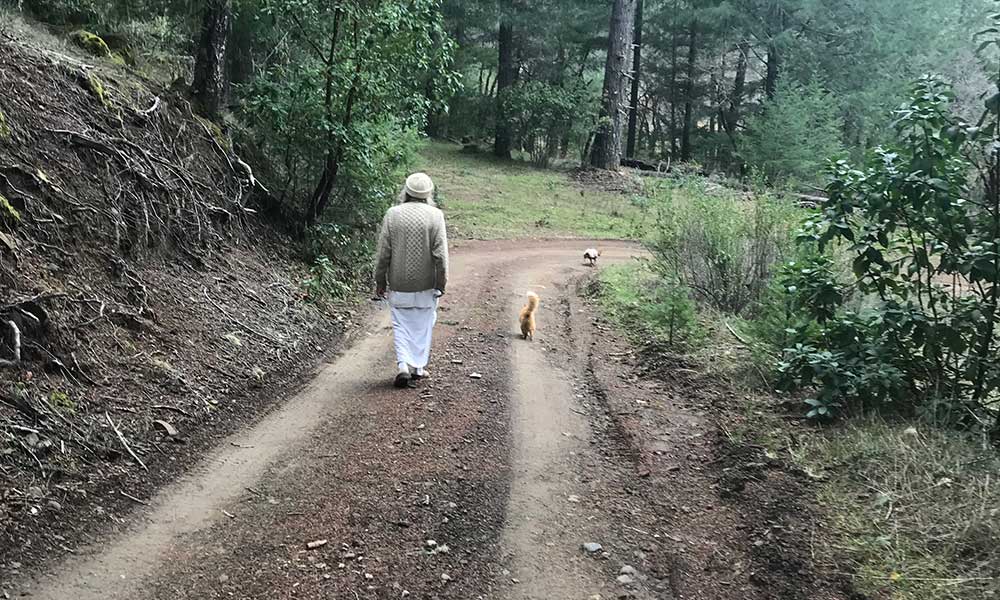
Our ranch, Swami Select, is at the edge of nowhere, set in the Mendocino Highlands, with a mixture of rangeland and forestland accessed by dirt roads. Hence, we have more rustic conditions than many cultivators, which requires more preparation. Winterization starts right after harvest, when you need to prepare for the onset of the rainy season. And given our current climate conditions, one must also prepare for drought.
In the garden areas, a general cleanup is needed. We stow away anything that could suffer rain damage. Fertilizers, nutrients, pumps, sprayers and other equipment all need to be kept dry. Brew tanks and hoses need to be thoroughly cleaned. Water lines must be turned off and drained to prevent freezing.
Any debris from harvest will be sorted for proper disposal. In the garden itself, we keep the bare cannabis stalks with their roots in their beds through the winter, so as not to disturb the microbial life around the root zone. We’ll pull them out in the spring, when we add amendments to the beds. Then, we run them through the woodchipper to be mixed with the compost, manure and wood chips and put back on the beds.
Another step of winterization is planting cover crop in the fall or mid-winter so it can sprout in the rainy season. This has been problematic for us because a combination of wild turkeys, the resident bird population and the jack rabbits usually manages to devour most of the seeds or eat the sprouts. We’ve tried many things: hardware cloth wire; frost cloth over the seeds in the beds; prayer flags around the fence; and finally, a last resort, chasing the turkeys when I see them. Whatever we do, the seeds and sprouts end up as food for wildlife. At least they all leave their poop behind in the garden. It has been decided that this year we’ll plant the cover crop seeds just before harvest starts, in late September or early October. The theory is that, because we are always in the garden at harvest time, the voracious critters will be scared off and the drip system for the pot beds will facilitate the seeds sprouting.
Drought: The New Normal
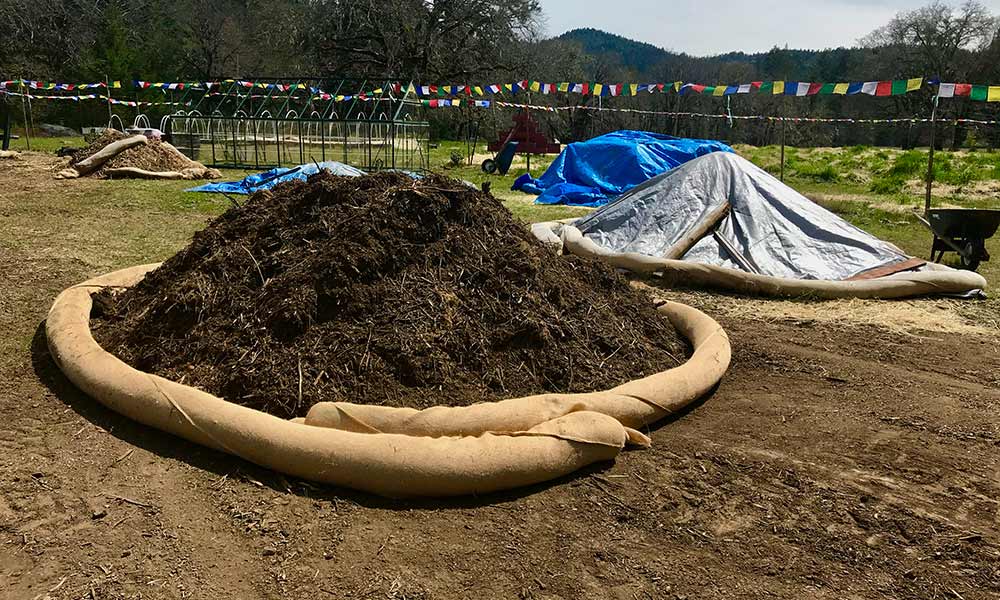
In the expectation of rain, culverts and ditches need inspection and clearing, especially on dirt and forest roads. Piles of soil, amendments, compost and wood chips need wattles placed around them, and tarps drawn over (unless there’s rain). This is particularly important on steeply sloped sites. Otherwise, it could all wash away and end up in the creek. If needed, rolling dips in dirt roads should be maintained, and ditches should be armored with one-and-a-half-inch roadbed rocks.
With drought being the new normal, now is the time to monitor the rainfall and your water supply for the upcoming season. It’s important to fill the water tanks during the peak rainy periods, allowing for any bypass requirements imposed by the Department of Fish and Wildlife. This would be a good time to install additional water tanks, giving them time to fill. If you have a pond or lake, be sure the pond culvert and overflow is unblocked. After any heavy rainfall or big storm—say over three inches—culverts, ditches, roads and rolling dips all need to be checked for damage and blockage, then cleared if needed.
Catching Up
During the long winter nights, it’s time to catch up on reading and studying, especially if you get snowed in for three weeks, as we did this winter. This is a chance to figure out what you can do better this year and to reflect on what went wrong last season. It’s also time to consider which cultivars to plant and where to find your seeds (or clones).
To drive out of our ranch, which rests in its own valley, we spent three days cutting out the large trees that had fallen across the forest road. But we still found a silver lining: Some of it will become firewood, and the branches can be wood chipped and added to the garden beds.
By the end of winter and in the early spring you can rake up leaves for the compost pile and gather fallen branches for wood chipping. Leaves and wood chips from your own land are one of the best things you can add to your beds to build up the organic material, because they bring with them indigenous bacterial and fungal life. This increases the “terroir,” or the unique local quality of the living soil. Letting the piles of leaves and wood chips sit out for a year is ideal, especially through a rainy season. It allows the resident microbial life to flourish.
Wood chips can also be used to make Biochar, which then can be inoculated with compost teas and worm castings. Once added to the beds, biochar increases the soil’s water retention and adds indigenous microbial life. Start making the biochar during the rainy season to reduce fire risk during the process, and then it will be available to mix with the compost and amendments for the beds in the spring.
If a worm is in bin, keep feeding it through the winter. However, keep in mind that several days of heavy frost can kill all the worms. If that happens, new worms need to be added when it starts to warm up, but the carcasses wll turn into compost and become worm castings.
That covers the essentials of cannabis winterization here at Swami Select. Next time, we’ll discuss seeds and review how to choose which cultivars to grow.


