


Edibles
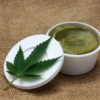
Edibles: How to Make Cannabutter and Cannaoil
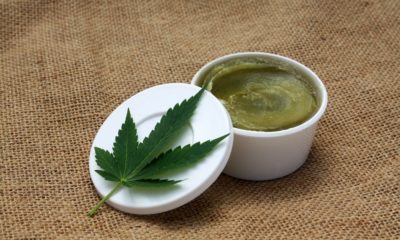
The process to make canna-butter and canna-oil are the same, but I prefer to make my extractions using whole buds, not leaves or stems because the better and stronger the cannabis you use, the better the final product will be. It is best to make a strong extraction and dilute it to personal tastes with plain butter or oil when you prepare a meal.
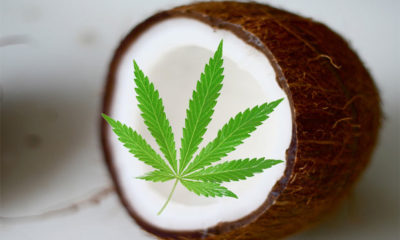
You can extract cannabis into any cooking oil, I personally choose coconut oil for its health benefits. Additionally, it has a high fat content which means it binds to a lot more of the cannabinoids you are trying to ingest.
Most of my recipes suggest a serving size that contains between 2-3 teaspoons of medicated butter or oil. If I am planning a progressive dinner I will use less in each of the courses so I don’t overwhelm my guests. On occasion I will offer a medicated garnish that is optional, some folks can use it if they wish.
Ingredients:
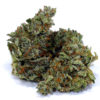
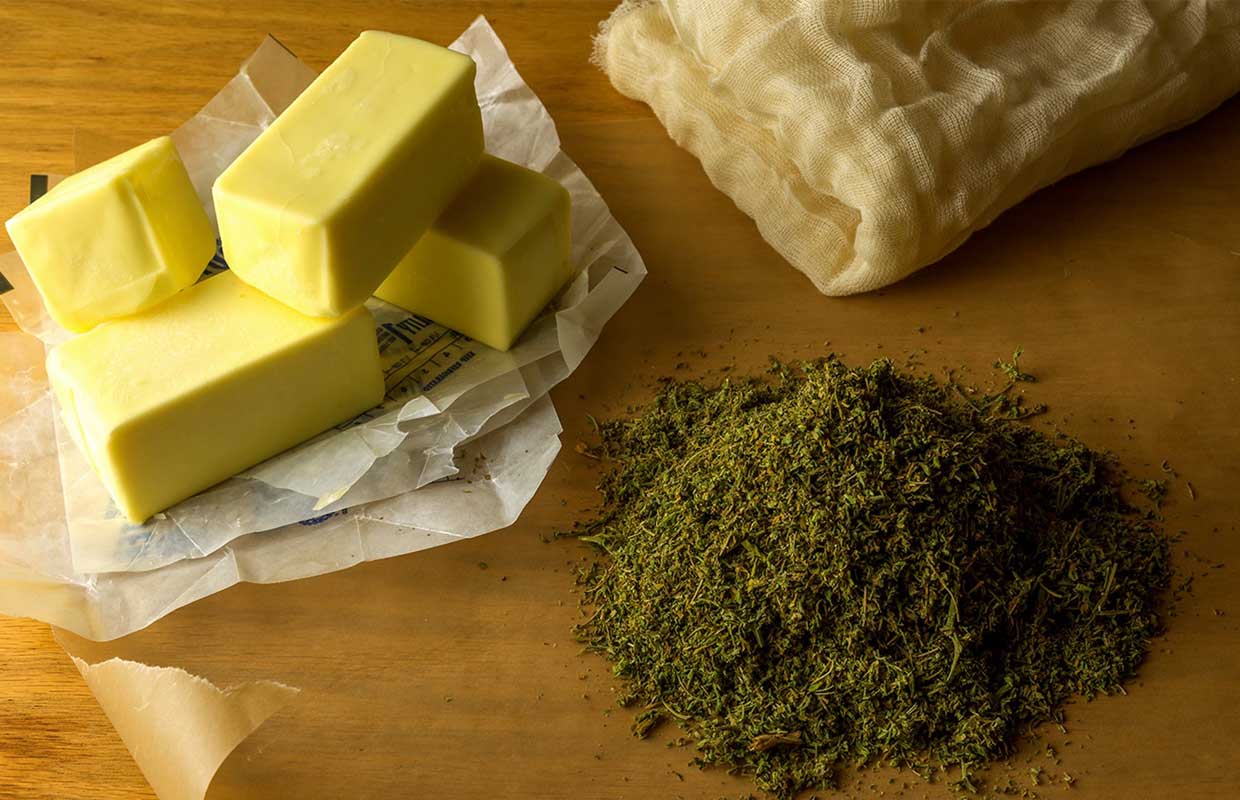
1 ounce dried cannabis flower
2 cups butter or two cups oil; coconut, canola, olive, peanut
Equipment:
Large saucepan
Wooden spoon
Large clear bowl or container
Cheesecloth
String, rubber band or tape
Instructions:
Step 1: Place the marijuana in a food processor or blender. A coffee grinder will work as well, the finer the powder the better.
Step 2: Place a large saucepan on the stove and add enough water so that it is about four to five inches deep. The most important thing to remember is that the marijuana needs to be a good two inches from the bottom of the pan at all times.
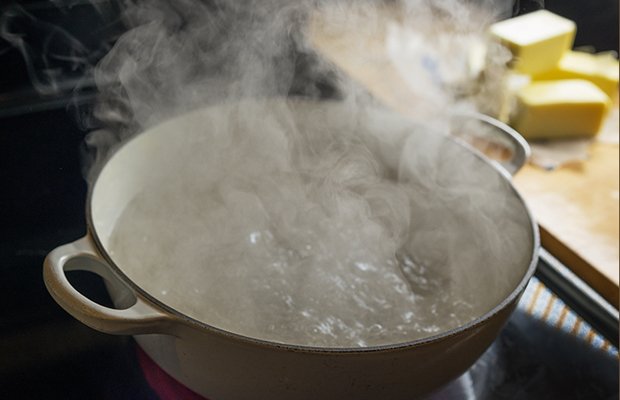
Step 3: When the water is at a full boil add the butter and allow it to melt fully.
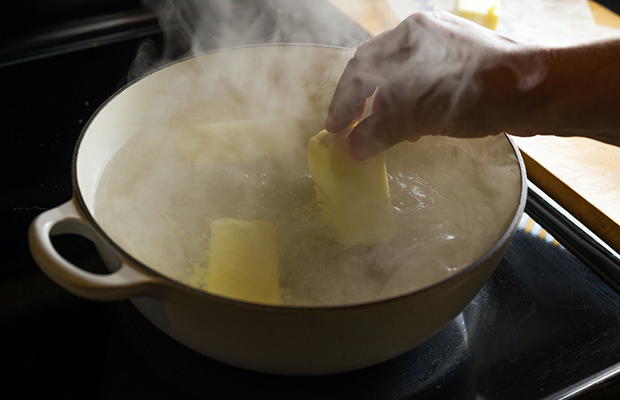
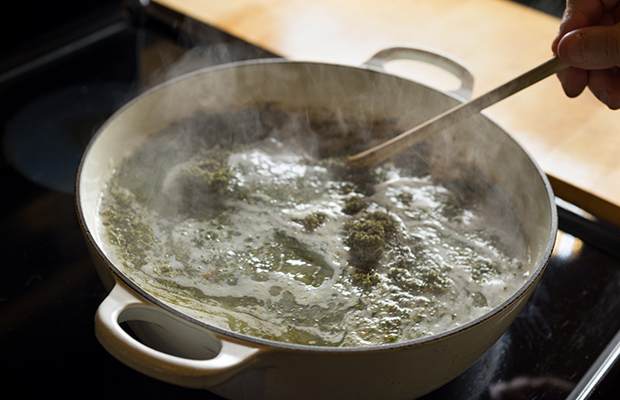
Step 4: Once the butter has melted, turn down the heat to low and add the marijuana. The mixture needs to cook slow and low, so be prepared to have it on the stove for about 3 hours, and never allow it to boil. Boiling is harmful to the cannabinoids. Stir the mixture every fifteen minutes.

Step 5: At the start of the process the mixture will look watery and the cannabis not yet incorporated. The butter will begin to change color, and the mixture will begin to appear dark and thick. It is a striking difference that is virtually impossible to miss.
Step 6: While the canna-butter is cooking set up the bowl to hold the finished product. Place a double layer of cheesecloth over the top of the bowl. Hold it in place with tape, string or a rubber band. Make sure to leave a little slack in the cheesecloth so you don’t make a big mess when you pour in the mixture.
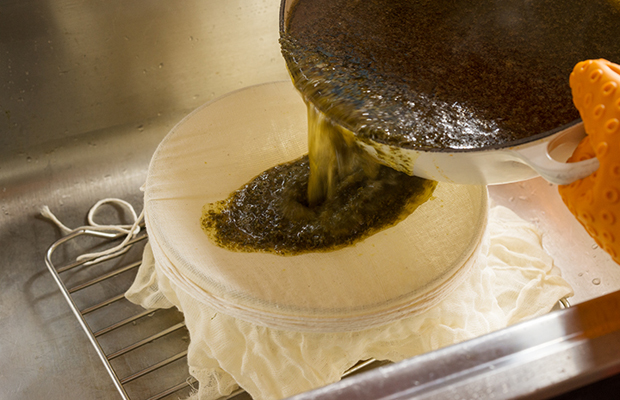
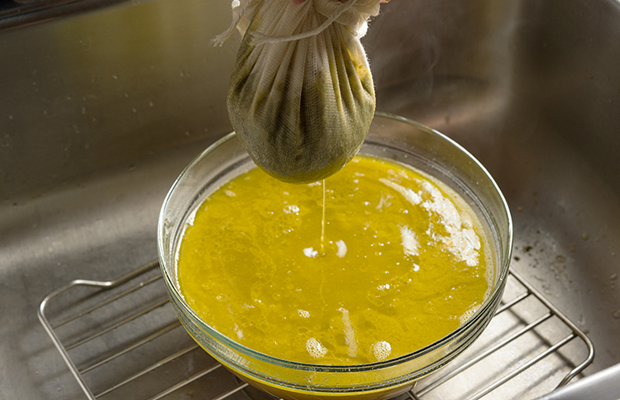
Step 7: When the mixture is thick and glossy, strain the marijuana butter over the bowl, carefully so as not to spill. When the saucepan is empty carefully undo the twine or rubber band, pick up the cheesecloth from all four sides and squeeze out all of the remaining butter. Remember that everything will be hot, so be careful. This part of the process can also be a bit of a mess, but well worth it!
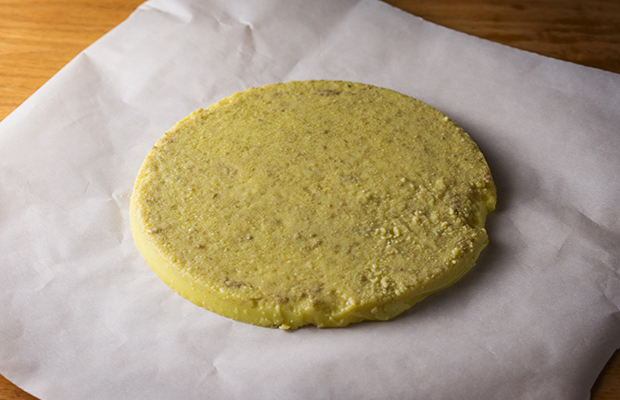
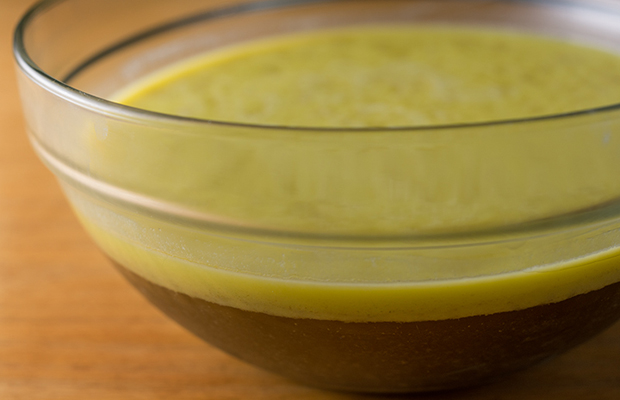
Step 8: Allow the canna-butter to cool for a couple of hours. It’s never good to put something hot in the fridge. Place in the refrigerator until the butter and water has separated. The butter will have risen to the top layer and become solid. The THC and other properties have now attached to the butter, and you are just about there.
Step 9: Run a knife around the edge of the bowl and lift the butter off.
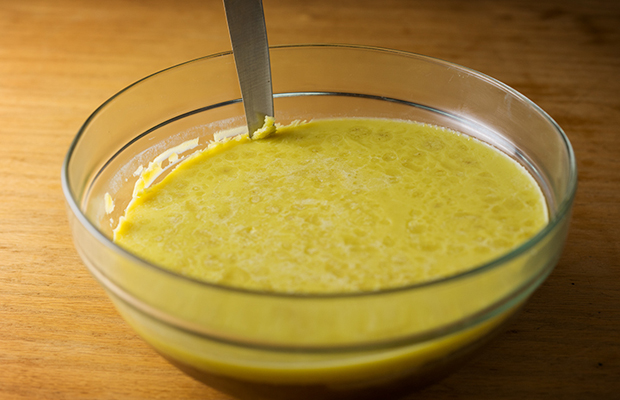
Step 10: Place upside down on your work surface and scrape off any of the cooking water. Your canna-butter is ready. Enjoy!